Wedding Stationery - An Insider’s Guide
Your wedding stationery is a reflection of your love story, and this insider's look at the custom invitation process will help ensure your stationery captures the magic of your special day. By following these timelines and guidelines, you can create a truly unique and personalized invitation suite that sets the tone for a wedding to remember.
Before the Wedding
Save The Dates
Save the dates mark the beginning of your wedding stationery journey and are traditionally sent 12 months before your wedding day. They offer your guests a sneak peek into your celebration, sharing the date and the general location of your wedding.
When designing your save the dates, keep it simple. You don't need all the nitty-gritty details just yet. Include:
Names of the Couple
Wedding Date
City and State
Optional: Venue Name
Optional: Wedding Website
Optional: Accommodations Information
Pro tip: if you are choosing to not have a wedding registry, use this back of the save the date to provide accommodations details. Not only will this save you money in terms of printing and postage, but also allow your guests more than enough time and opportunity to make arrangements.
rehearsal dinner / welcome dinner invitations
The family hosting the rehearsal dinner may want to handle the invitations themselves. Otherwise, the couple may choose invites to match and be included in the main wedding invitation suite. In this case, it should include the name of the family that's hosting, location information, and RSVP cards or an RSVP line.
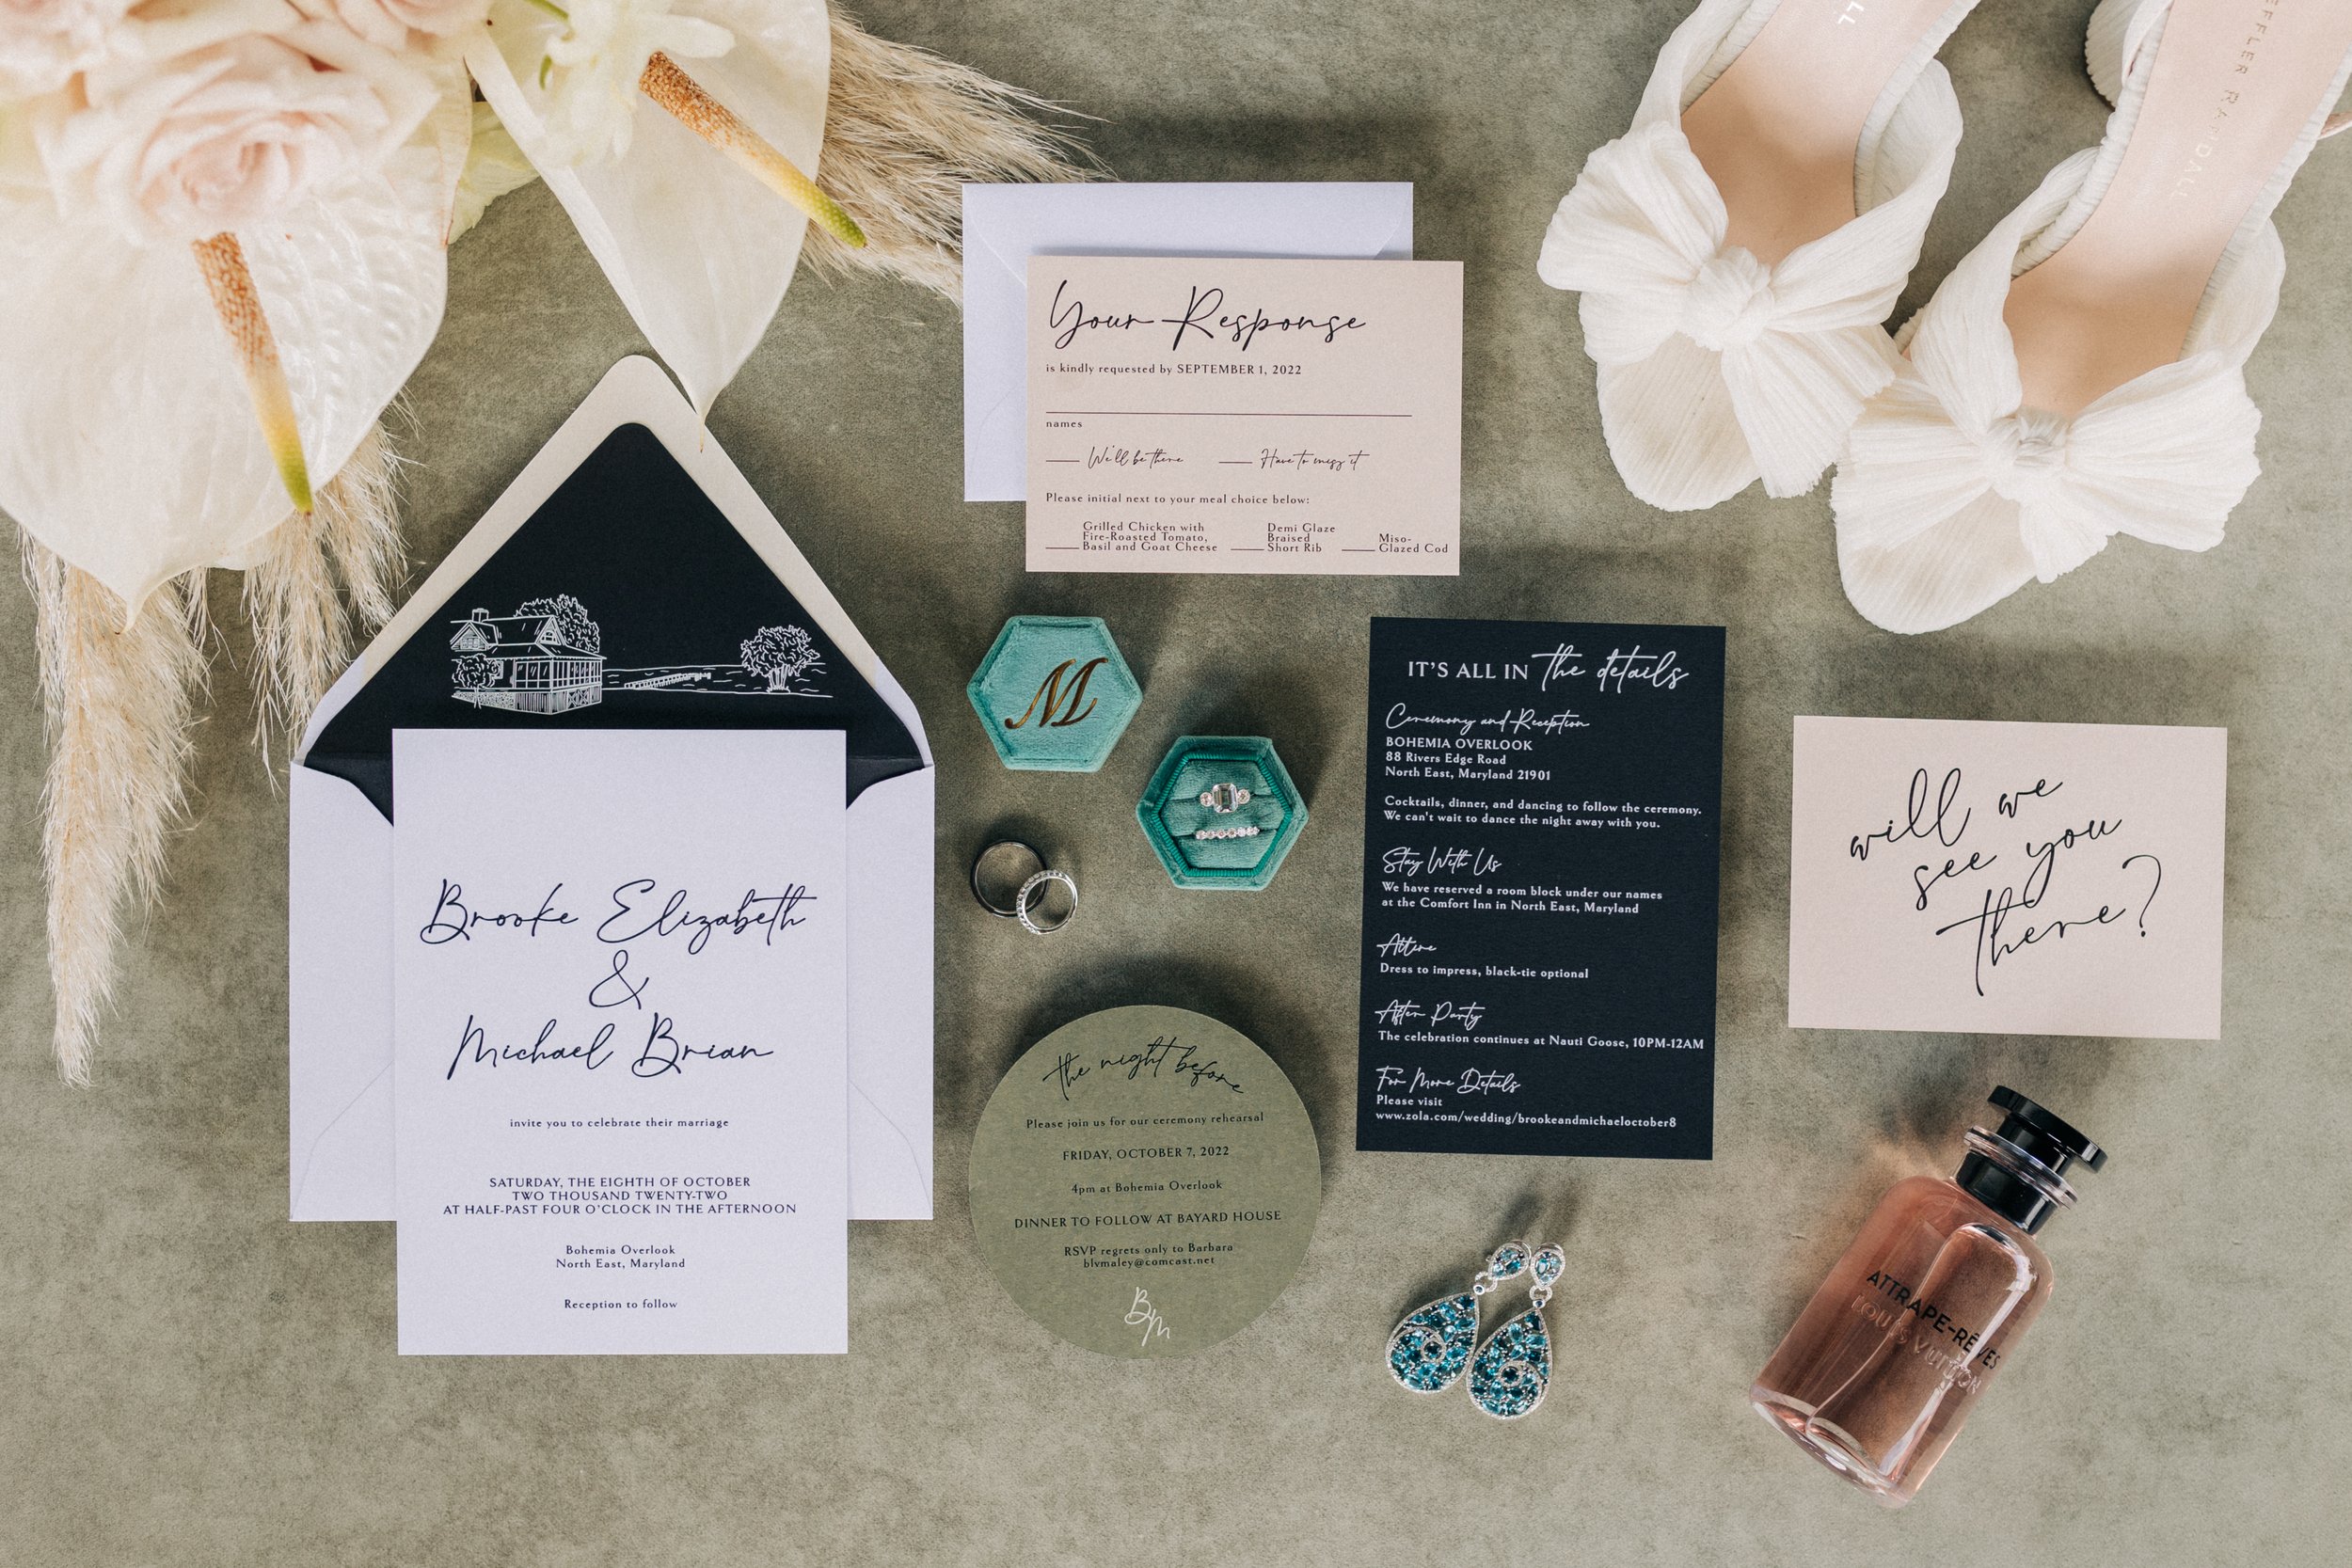
The Main Invitation
The main invitation card is the heart of your invitation suite. It's your opportunity to express your wedding's style and theme. While there are traditional etiquette guidelines for invitation wording, custom stationery allows you to incorporate elements from your event, such as floral illustrations or matching colors with bridesmaids' dresses. The invitation suite serves as a bridge between your concept and the reality of your special day. Your main invitation should include:
Who is hosting
Names of the couple
Date and time
Venue
City (state is optional)
12 months prior
Research wedding invitation styles and find local stationers and calligraphers to work with. Find a stationer who’s style you love vs asking someone to replicate someone else’s work.
Learn about paper and printing options- decide what you like, and what you
Think about the invitation components: What items do you need in order to inform your guests?
Create a mood board or Pinterest board to share your vision.
9 Months Prior
Schedule a consultation with local Stationers and Calligraphers
Receive samples and paper swatches. Select colors, sizes, and components for your invitation suite.
Receive project proposal, initial sketch, project timeline and pricing.
Pro tip: As a reminder, many stationers book a year in advance. Be ready to put a deposit down to secure the artist you want.
6 Months Prior
Weeks 1-2: Collaborate on your wedding invitation suite design and make any necessary revisions.
Week 3: Approve and sign off on the final proof.
Week 4: Submit your guest address spreadsheet.
3 Months Prior
Mail your invitation suite out! Even if you’ve already sent out Save The Dates, giving your guests plenty of time to plan is always appreciated.

Photo By: Radiant Photography
response Cards and Envelopes
Even in the digital age, traditional etiquette calls for response cards. They make it easy for guests to RSVP and can include meal preference options and dietary restrictions. Ensure the envelope is pre-addressed and includes postage for a smooth response process. Confirm with your venue when they they’ll need a final head count, but generally this is needed 45 days before the wedding date. Include a reply by date on the response card.
Pro tip: RSVP is the initials for the French words 'répondez s'il vous plaît,' which translates to 'please respond.’ So, if using RSVP on your reply card, it should not be preceded by the word please.
Details Card
A details card can provide guests with additional information on lodging, travel, navigation, menu choices, dress code, and other event-specific details. This card is particularly helpful if you have different ceremony and reception venues, out-of-town guests, or a more complex event. Details cards can include:
Dress code
Lodging recommendations
Wedding website
Note if young children are welcomed or not
Notes on weather or landscape (especially for outdoor weddings)
After Party time and location
If you have a wedding hashtag, you can include that here
Other relevant information

Photo By: Hanleigh Photo
At The Wedding
Ceremony Programs
These are optional, especially if the ceremony is on the shorter side. If you choose to create one, it typically includes the couple's name, date, location of the ceremony, a brief welcome, an overview of the proceedings, and the names of everyone involved in the ceremony.
Pro Tip: Get creative! Having an outdoor Summer wedding? Consider making the programs fans for guests to use. If you’re looking for a fun ceremony recessional, consider adding petals or confetti to your programs for guests to toss as you exit. Use these options to spark your imagination!

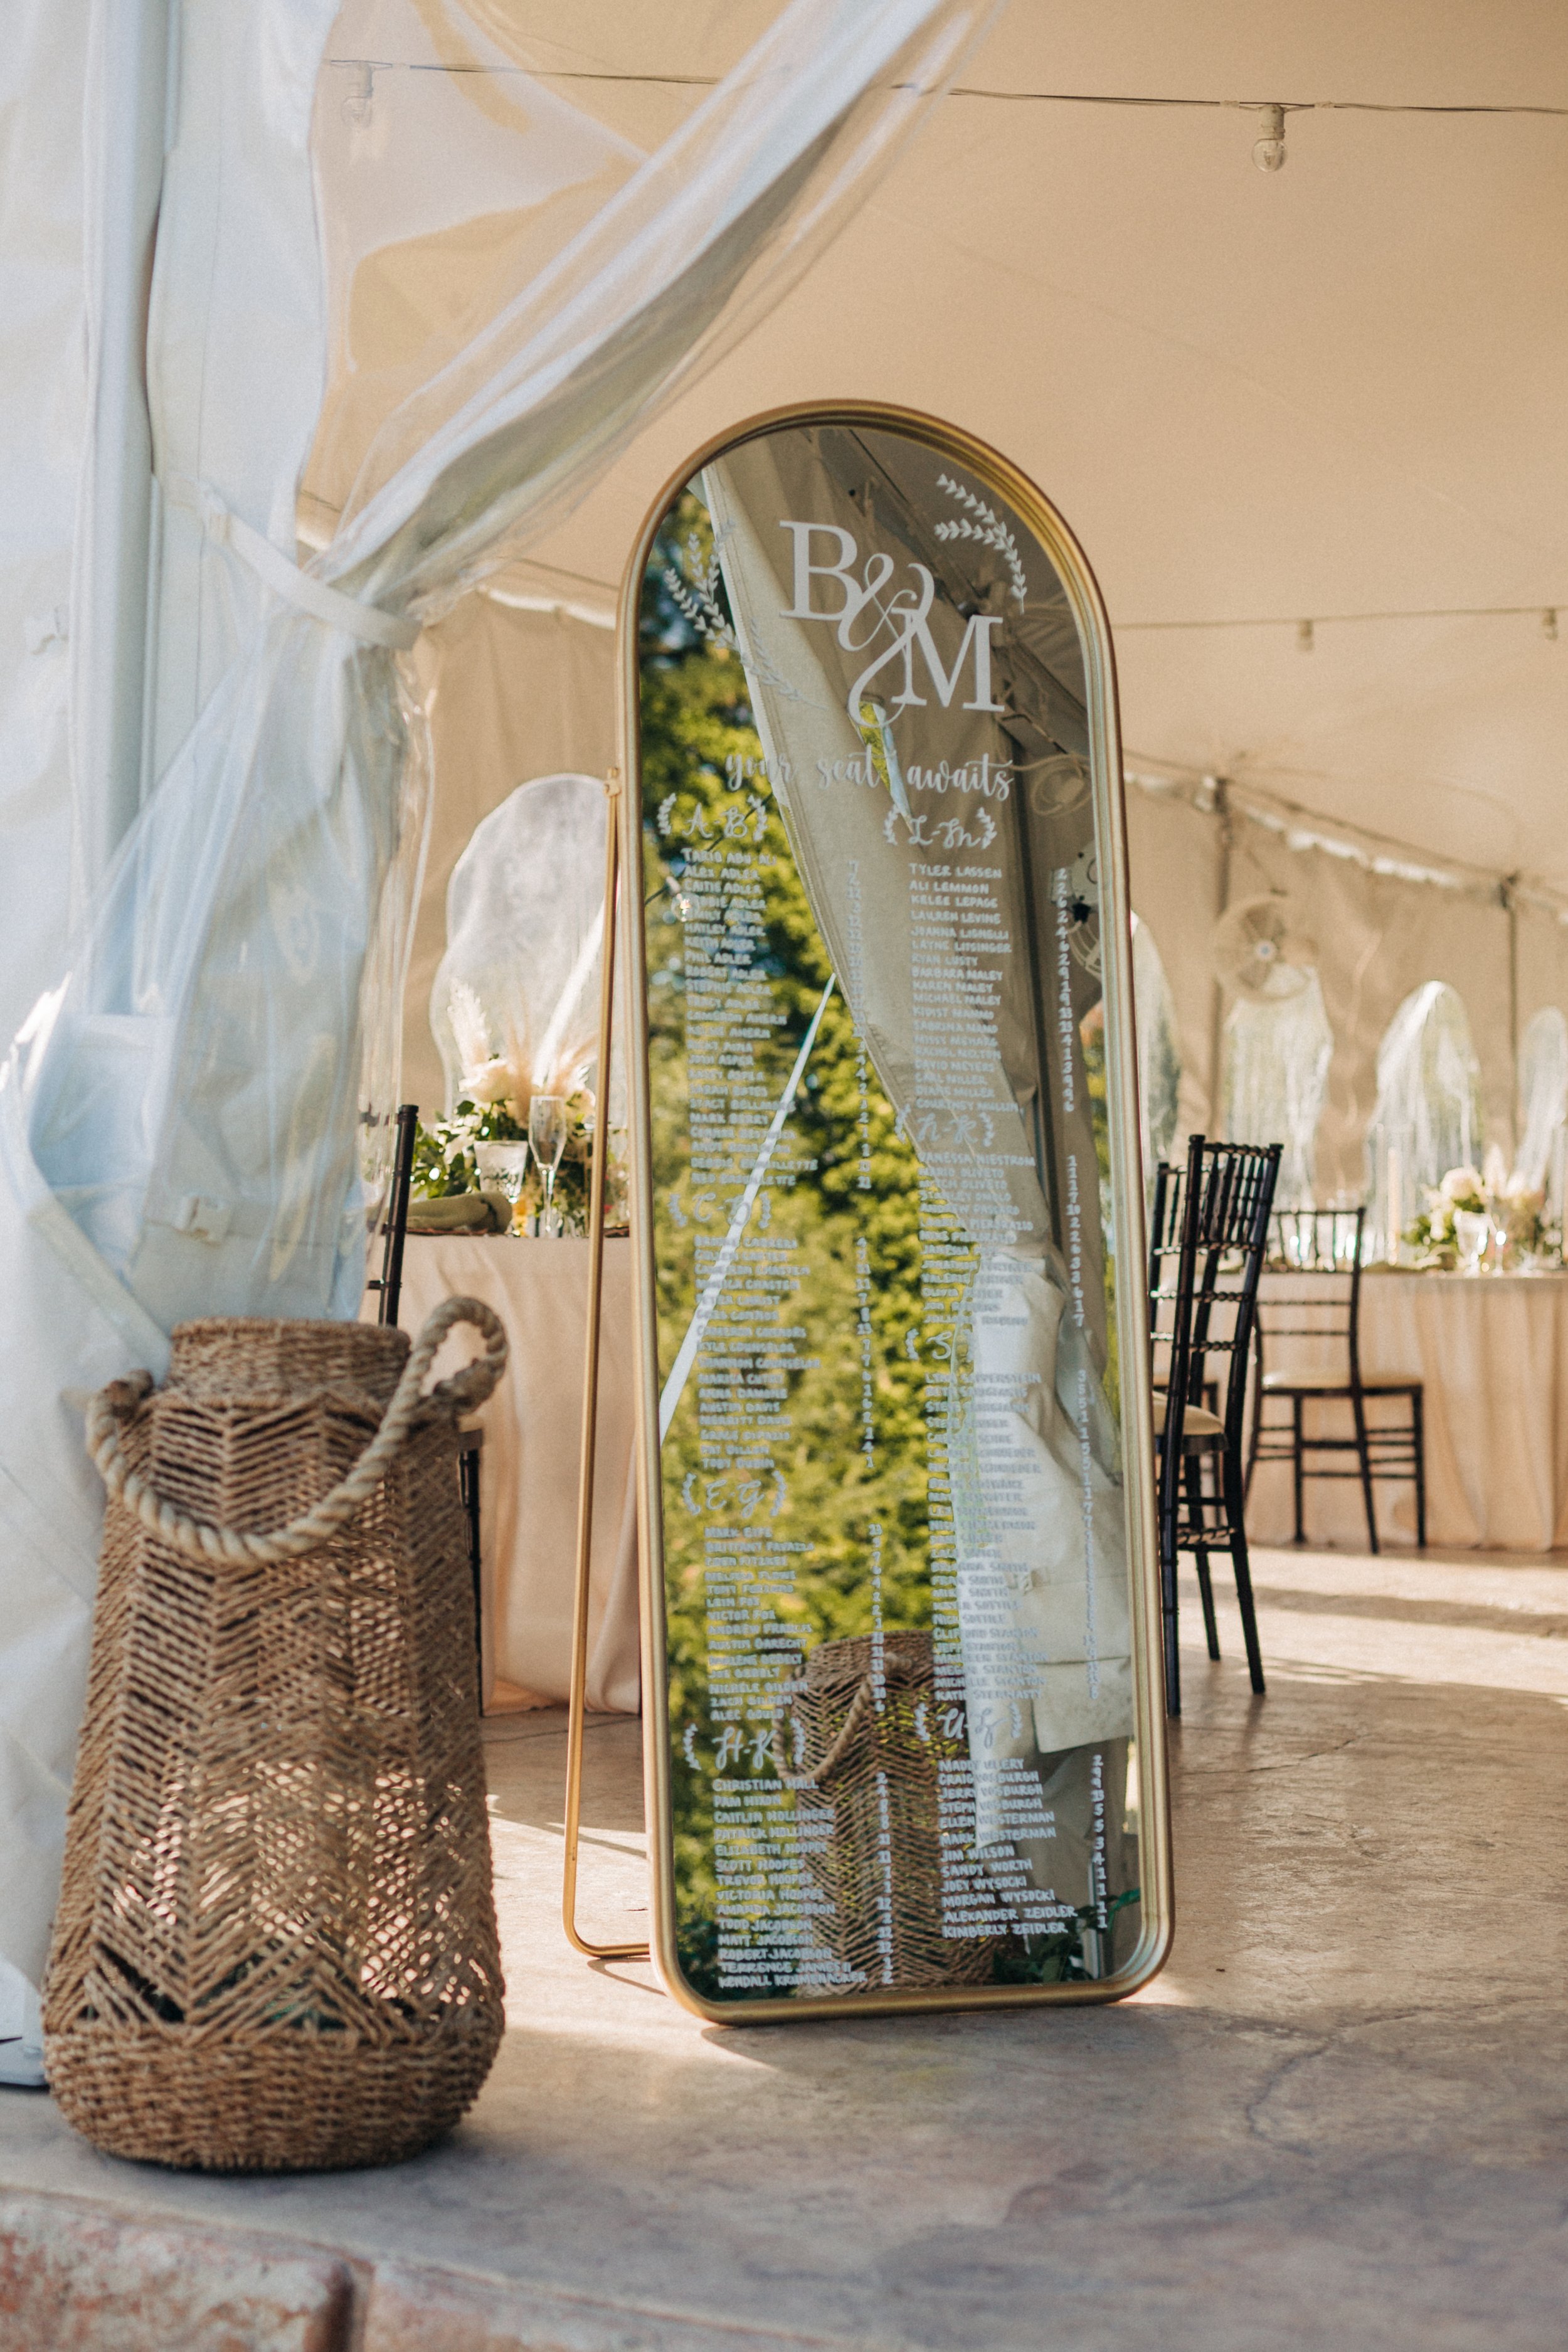
Place Cards
Place cards help direct guests to their assigned tables. Individual cards or a sign listing the names of guests and their designated tables are usually placed at the entrance of the reception. They're typically used for sit-down dinner receptions and help the venue determine which guest is getting what meal. If your venue is taking guest orders at the table, you don’t need the cards and can opt for a fun sign instead! During cocktail hour, guests can check and see what table their seated at. It’s also a great opportunity to add a personal touch.
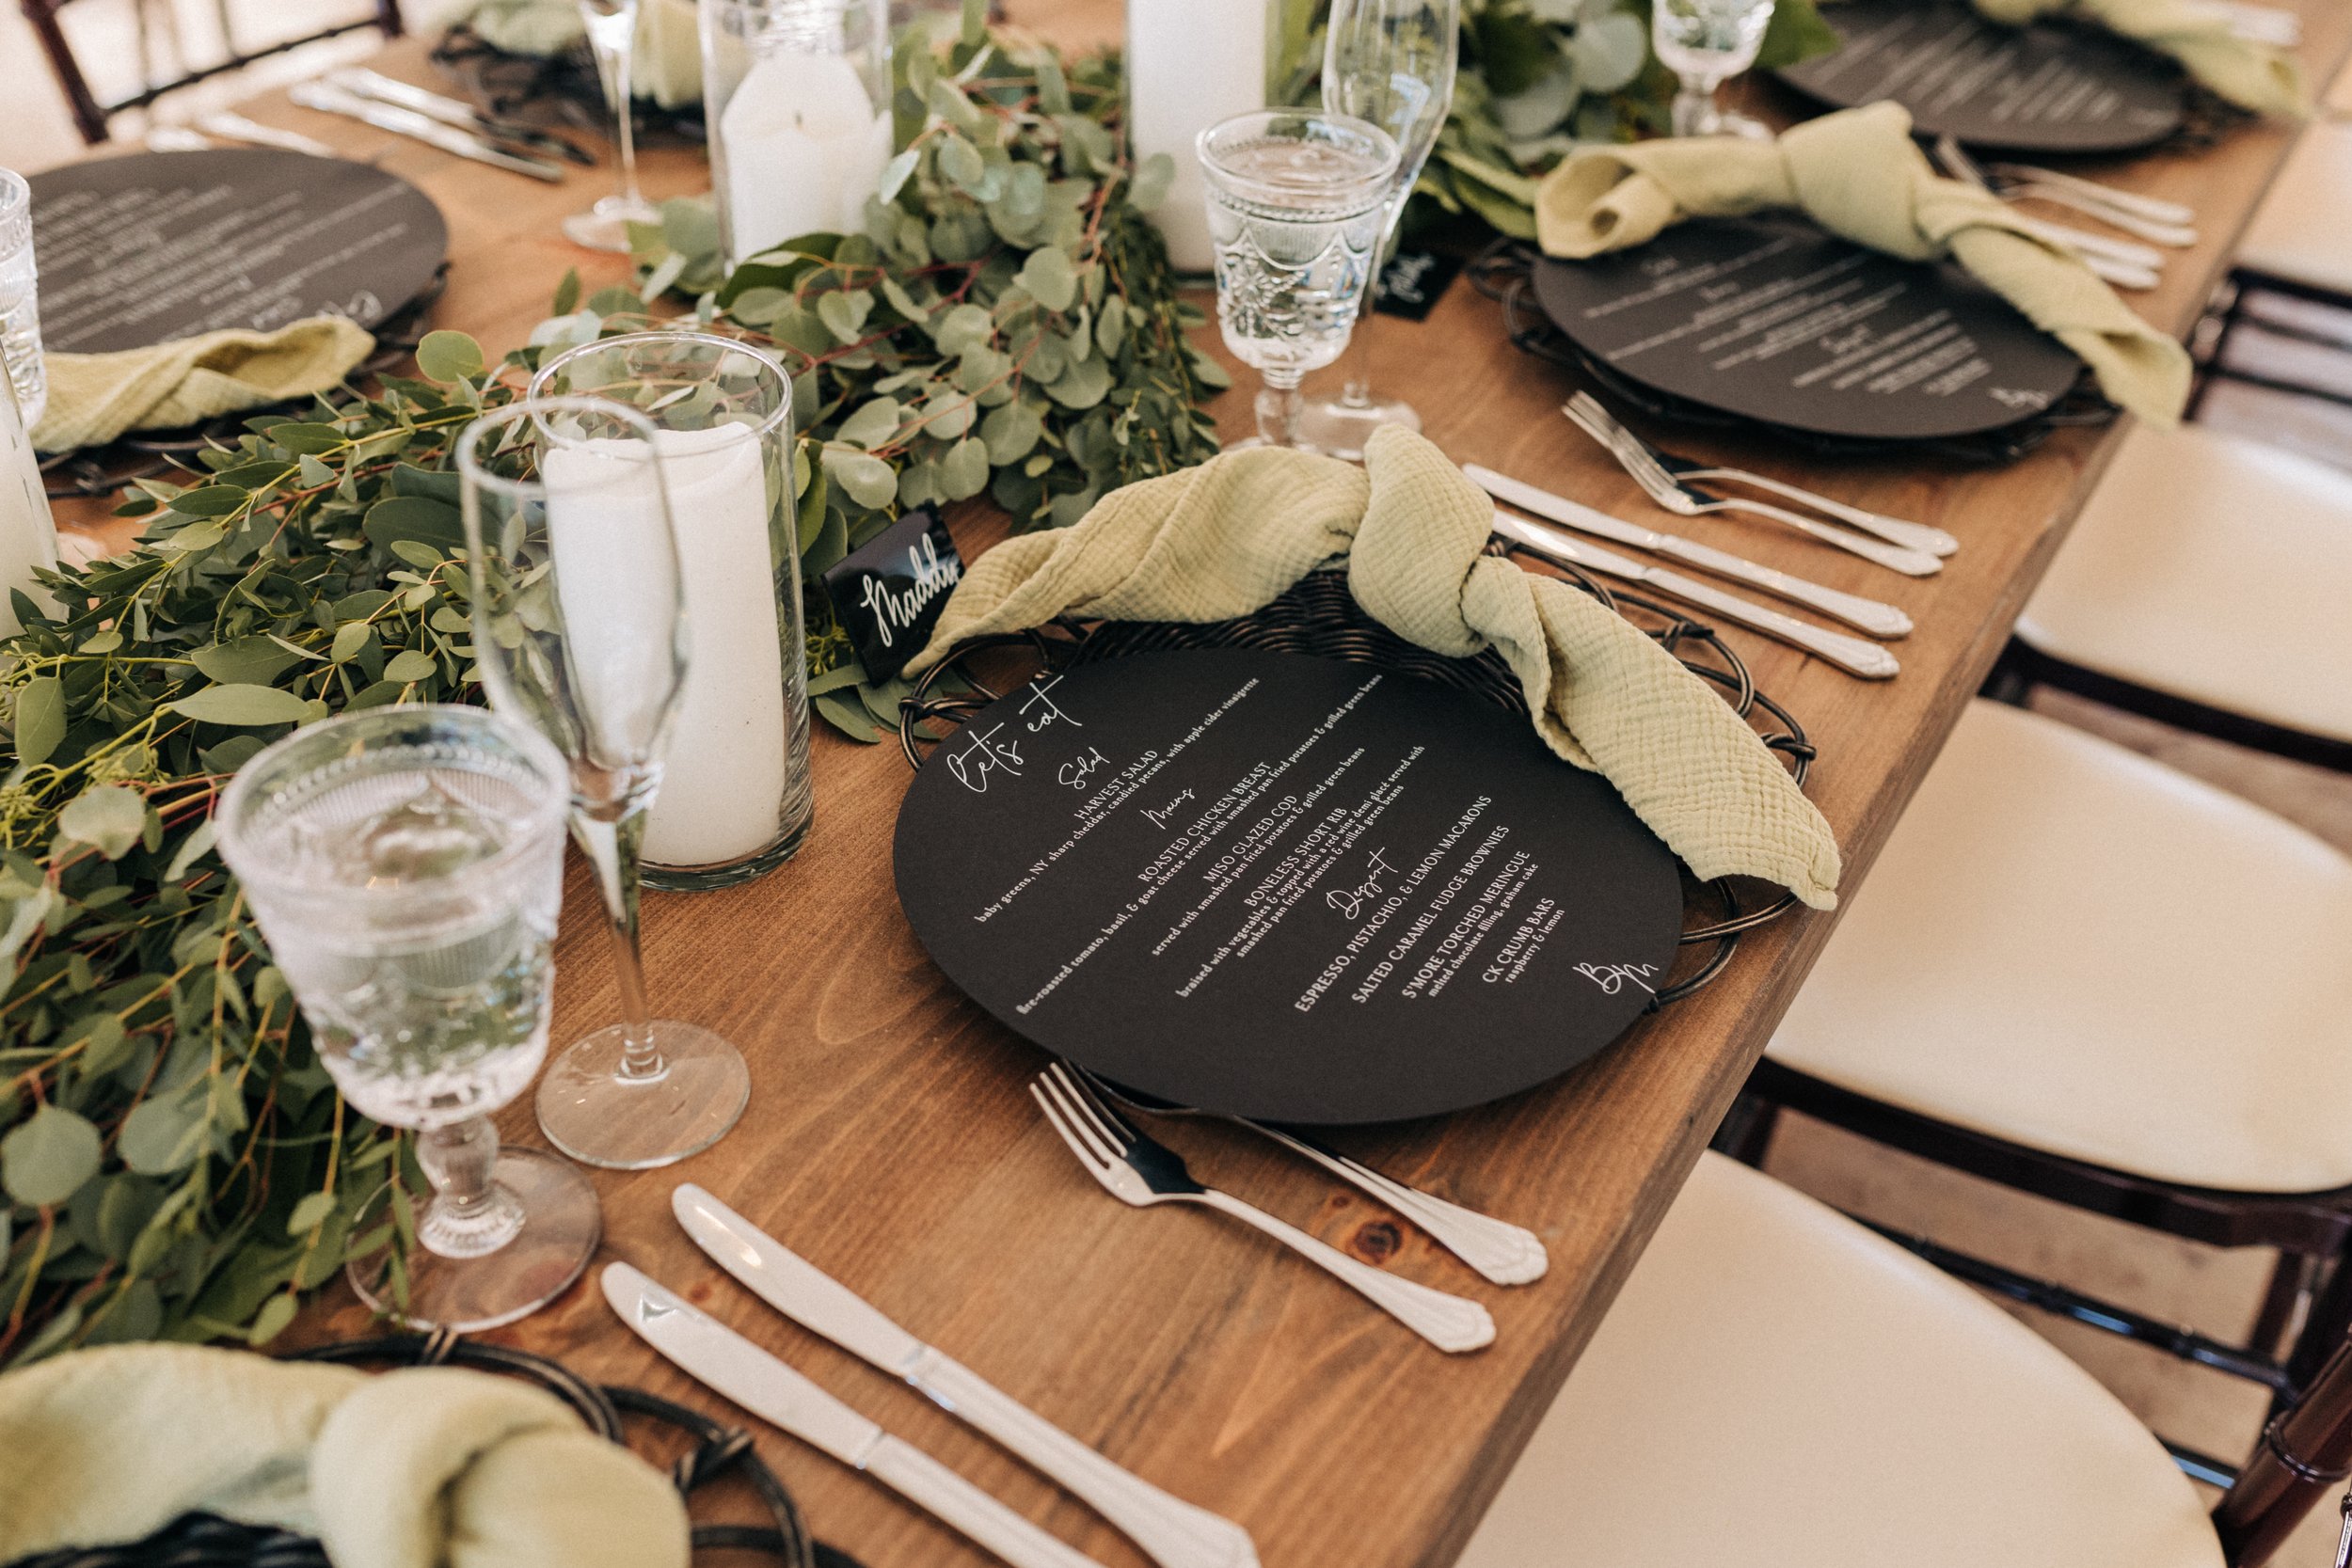
menu cards
Menu cards give an overview of what will be served for the meal. Some will include options to choose from (entreé, sides, and dessert), while others (buffet or family-style) will simply include the food being offered.
After the Wedding
Thank you cards
Generally, thank-you cards should include the gift giver's name, what they bought, and a note of appreciation. They should be sent out within three weeks of receiving the gift. If you want to include photos from your wedding on or within your thank-you cards, they can be sent out a little later.
Pro Tip: While it’s not necessary to hand-write a message on the thank you card, it’s a nice touch. Open a bottle of wine and sit down with your spouse to reflect on how your guests made your day so special, and write them a short message.